Step-by-Step Guide: How to Install a New Thermostat
A thermostat is the central device for controlling your home's heating and cooling, directly impacting your comfort and energy costs. Modern technology offers a variety of options, including programmable and smart models. For optimal performance and efficiency, professional thermostat installation ensures your system is set up correctly and tailored to your needs.
Upgrading can make things easier and help you save on energy costs. Installing a new thermostat may feel hard, but it’s usually simple and can be very helpful. This guide will give you clear steps on
how to install a new thermostat. It will help you feel good about making this change.
Key Takeaways
- Upgrading to a modern thermostat improves energy efficiency, comfort, and convenience.
- Installing a thermostat requires basic tools, proper wiring, and following safety precautions.
- Smart thermostats offer advanced features like app control, learning preferences, and energy usage insights.
- Testing the thermostat ensures correct wiring and HVAC system compatibility after installation.
- Air Smith & Sons Inc. provides expert thermostat installation services with a focus on quality and customer satisfaction.
Tools and Materials You’ll Need
Having the right tools is very important for a good installation. Here is what you need:
- Screwdriver – To take off and put on the thermostat.
- Drill and bits (optional) – For wall anchors if the wall is hard.
- Wire strippers – To cut and connect wires safely.
- Level – To make sure it is straight.
- Wall anchors and screws – To keep it securely in place.
Choosing the Right Thermostat
When picking a thermostat, you should think about several kinds to choose from:
- Manual Thermostats – These are basic models. You can change the temperature by hand. They are easy to use but do not have programming options.
- Programmable Thermostats – These let you set up a schedule for your temperature. They work well for people with regular daily routines.
- Smart Thermostats – These provide advanced features. They can learn your temperature preferences. You can also control them from apps and connect them with smart home systems.
Each choice has its good points, but smart thermostats are especially liked because they are easy to use and save energy. They often work well with systems like Google Assistant or Alexa.
Safety Precautions Before Starting
Safety is very important when you work with wiring. First, turn off the power to your HVAC system at the circuit box to avoid any chance of electric shock. Always handle wires with care to prevent damage to the HVAC system or any chance of getting hurt. If you feel unsure about electrical work, think about calling a professional for help.
Step 1: Turn Off Power to the HVAC System
Locate your circuit breaker panel. Find the switch for your HVAC system and turn it off. You may also want to turn off the power for the room where you will work. This helps to avoid shocks or harm to the HVAC system. To check if the power is off, try changing the old thermostat's settings. The system should not respond if the power is off.
Step 2: Remove the Old Thermostat
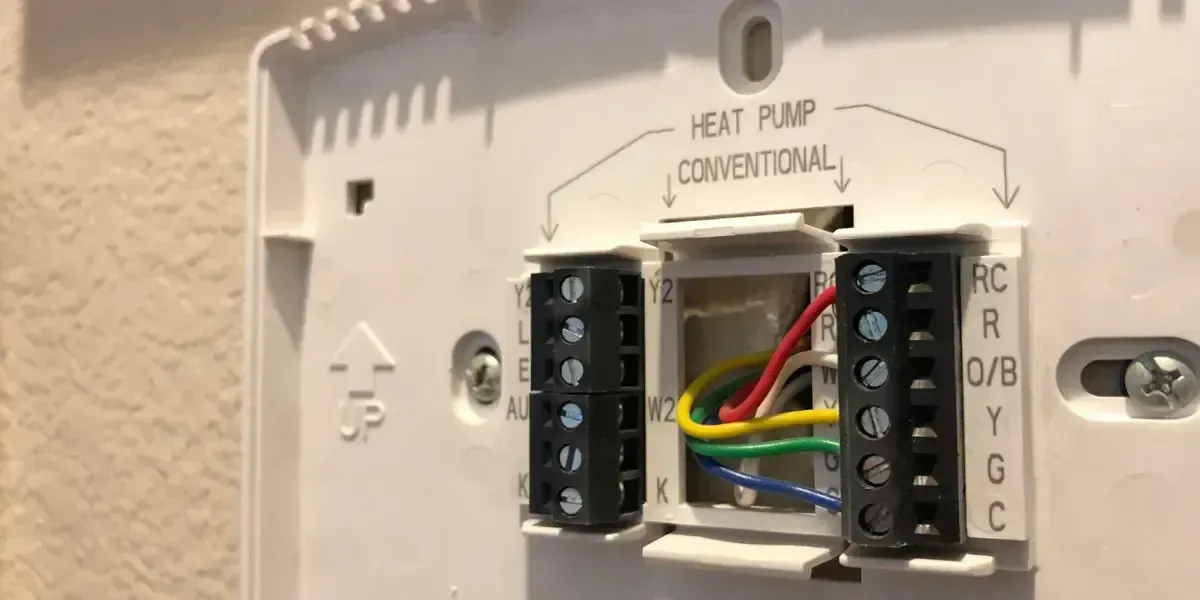
Carefully take off the old thermostat by unscrewing it from the wall. When you remove it, you will see several colored wires connected to terminals. These wires are important for installing the new thermostat. Be sure to label each wire based on its connection, like “R” for the red wire and “G” for the green wire. Some thermostats may have small labels to attach to each wire. If not, you can use masking tape and a marker.
Step 3: Prepare the Wall and Wiring
With the old thermostat taken out, you may see dust or leftover bits. Clean the wall to make it ready for the new device. Look at the wires to see if they are worn out, and check if they work with the new thermostat. For instance, smart thermostats might need a “C-wire” to run their special features. If you do not find a C-wire, read your thermostat’s manual for solutions or get help from a professional.
Step 4: Attach the New Thermostat Base
Align the bottom of the new thermostat on the wall. Make sure it covers any holes from the one before. Use a level to check that it is straight. Then, mark where you need to drill the holes for mounting. If you are mounting on drywall, drill holes for wall anchors. Put the wall anchors in and screw the base to the wall. A secure and level setup will help the thermostat read correctly.
Step 5: Connect the Wiring to the New Thermostat
With the thermostat base mounted, it’s time to connect the wires. Start by carefully inserting each labeled wire into the correct spot on the new thermostat. Each wire color usually matches a specific job:
- Red (R) – Power
- Green (G) – Fan
- Yellow (Y) – Cooling
- White (W) – Heating
If your model has a C-wire terminal, connect it to provide power to the unit. After you finish the wiring, check that each wire is in its terminal and tightly secured.
Step 6: Mount the Thermostat Unit
Attach the main thermostat unit to the base. Make sure it snaps in place or screws on well, based on the model. This setup helps the thermostat work properly and keeps the wires safe behind it. A good fit is important to stop any loose connections. Loose connections could stop it from working.
Step 7: Turn the Power Back On
Return to the circuit box and turn the power back on. Check the thermostat to see if the screen lights up or shows that it is starting. If it does not turn on, look at the wiring again. Make sure each wire is connected properly. This step is very important to make sure the wiring and setup are working as they should before moving on.
Programming Your New Thermostat
Setting up your thermostat is the part where you will see the real benefits. Follow these steps to enjoy your new thermostat more.
- Set Time and Date – This helps the thermostat work with your schedule.
- Program Temperature Settings – Set the temperatures you want for different times and days.
- Customize Schedules – Most programmable thermostats let you choose custom schedules for weekdays and weekends.
With a smart thermostat, you can also use extra features. You can control it from afar. It learns your habits over time. You can see how much energy it uses through a smartphone app.
Testing the Thermostat
Once you set the thermostat, you should test each mode.
- Switch to Heating Mode– Make sure the heating system turns on and warm air is coming through the vents.
- Switch to Cooling Mode– Check that the cooling system turns on and puts out cool air.
- Fan Mode– Ensure the fan turns on by itself if you have this choice.
These tests show that your thermostat is connected correctly. They also show that the HVAC system is working as it should.
Tips for Saving Energy with Your New Thermostat
Using the thermostat wisely can help you save a lot on your energy bill. Here are some tips:
- Set the thermostat to 68°F in winter. Lower it when you sleep or are away.
- In summer, keep it around 78°F to feel good and save energy.
- Use eco modes on smart thermostats. They can change settings on their own and help save energy.
Many smart thermostats give you details about your energy use. You can see patterns and change settings for more savings.
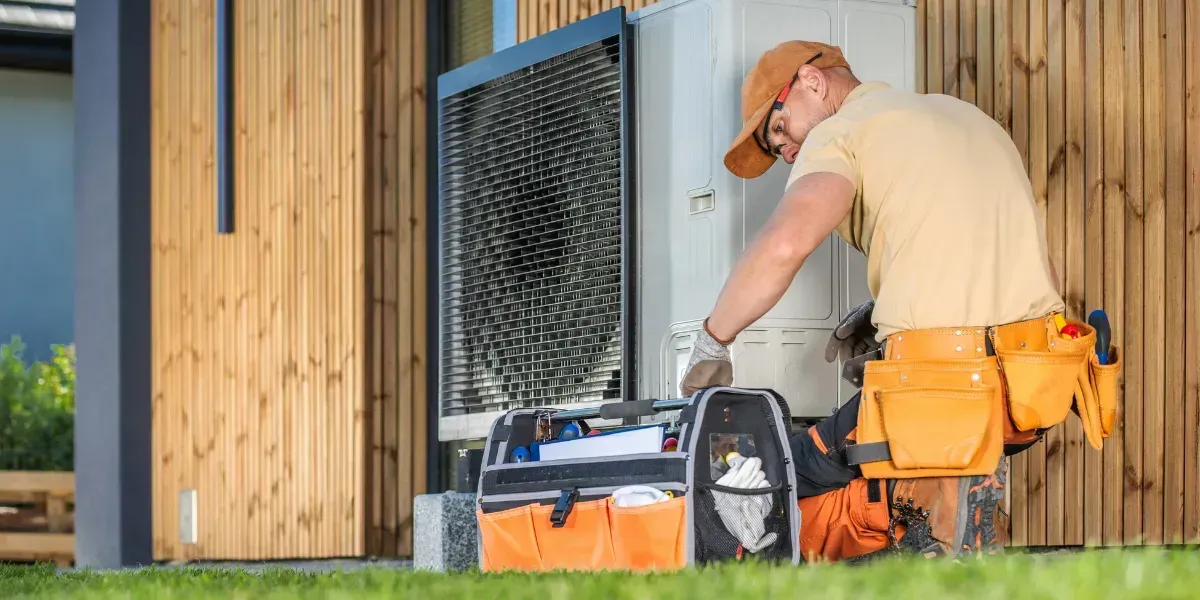
How Air Smith & Sons Inc. Can Help You
When you need HVAC installations, Air Smith & Sons Inc. has skilled workers. They can install your thermostat quickly and without any problems. When you choose Air Smith & Sons Inc., you will receive:
- Technicians who know all types of thermostats.
- A clean installation that does not cause any trouble.
- Helpful advice on setting up for the best energy savings.
- A promise of quality on all installations.
Choosing
Air Smith & Sons Inc. means you can relax. You will know your thermostat is set up for its best performance and will last a long time.
Frequently Asked Questions
How difficult is it to install a thermostat myself?
It can be easy if you know how to wire and read instructions. If you are not sure, Air Smith & Sons Inc. can install it for you.
Are there any thermostat models that don’t require a C-wire?
Yes, some programmable thermostats and many new models have options for setups without a C-wire. Check to see if your thermostat is compatible.
How can I tell if my thermostat is wired correctly?
A thermostat's screen should light up if it's connected right. If it doesn't, look at each connection, especially the power (R) wire. You can also ask a technician for help.
What’s the ideal temperature for saving energy?
To stay warm, set your thermostat to 68°F when you are at home. Lower it when you are sleeping or not at home. For cooling, set it to 78°F to save energy.
How often should I replace my thermostat?
Thermostats usually last about 10 to 15 years. However, getting a new one every few years lets you use the latest tools to save energy.
Conclusion
Installing a thermostat may feel like a hard task. However, you can succeed by following these steps. A good thermostat helps make your home feel comfortable. It can also lower your energy bills by matching your way of life. If you want help from experts, Air Smith & Sons Inc. has great thermostat installation services. Contact
Air Smith & Sons Inc. at
(951-202-4957) to set up an easy installation. You will enjoy the gains of a good HVAC system!